
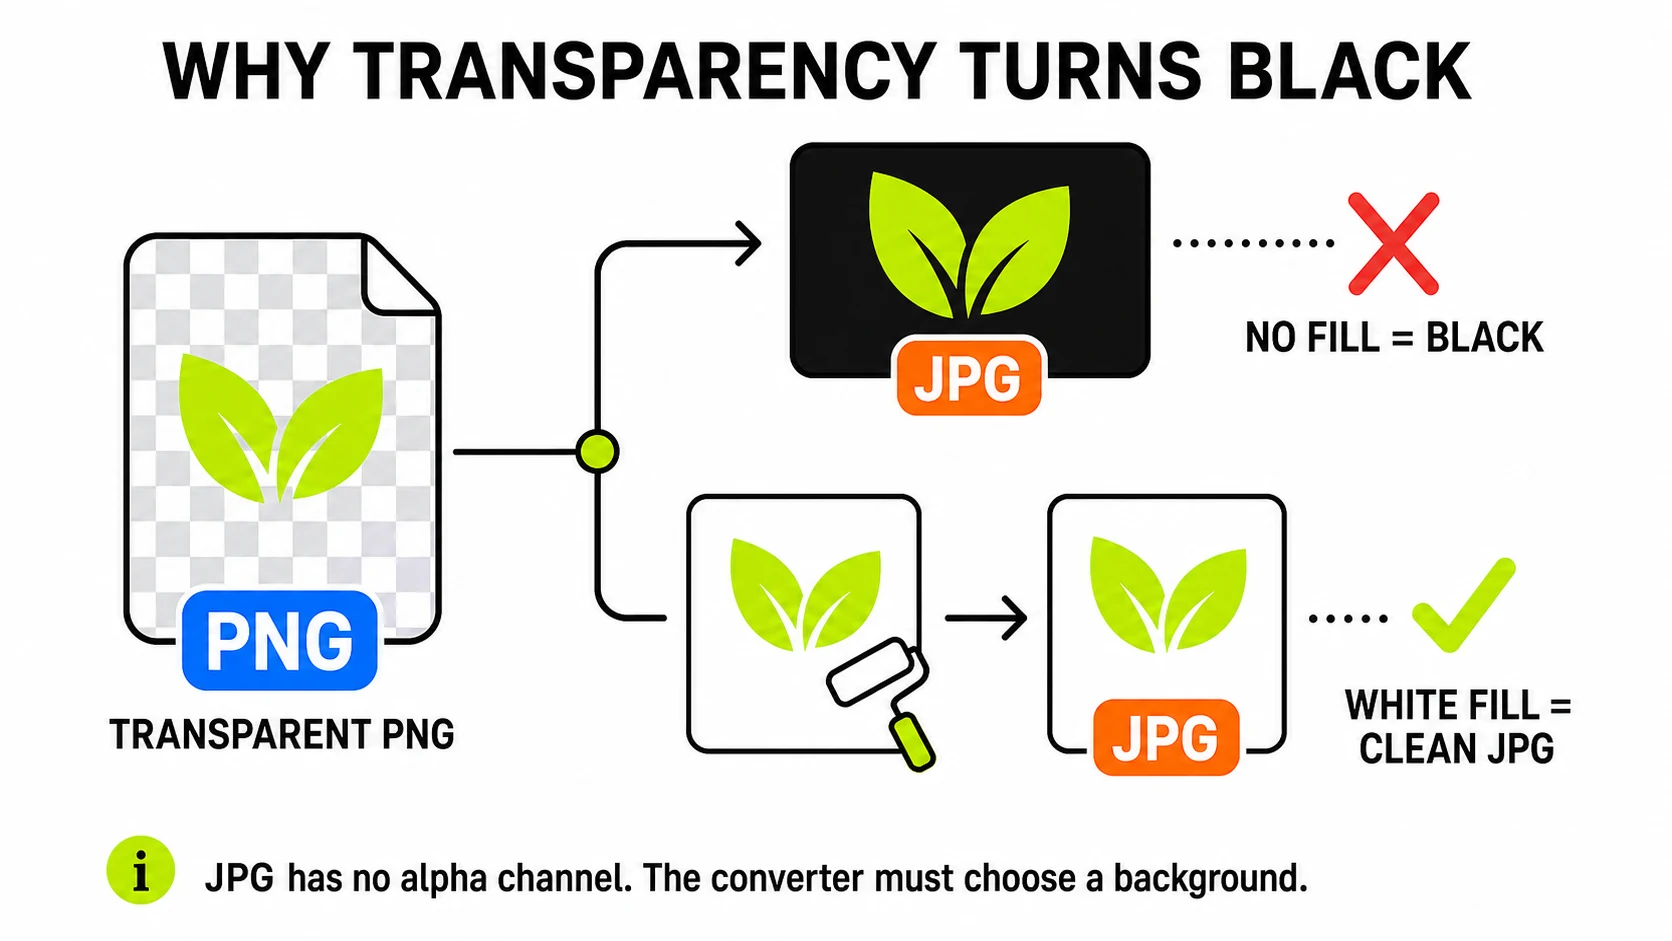
JPG has no transparency channel at all - not a limited one, none - so converting a transparent PNG to JPG forces something to fill in the areas that used to be see-through. Black shows up specifically when the conversion tool never explicitly chose a fill color, not because JPG has any preference for black. Here’s the actual mechanism, and why some converters get it right while others don’t.
Why JPG can’t stay transparent
JPG’s compression was designed decades ago for photographs, which are always fully opaque rectangles - there was never a transparency channel in the original spec, and none has been added since. PNG’s alpha channel, which stores exactly how see-through each pixel is, simply has nowhere to go once the image becomes a JPG. Something has to occupy those pixels instead.
Where the black actually comes from
This is the part that’s rarely explained. When software flattens an image with transparency down to an opaque format, it’s compositing the transparent pixels onto a background - and if nothing sets that background color explicitly, common rendering defaults produce black, the same way an empty drawing canvas starts out black (or shows nothing, which then saves as black) rather than white. A quick script or a low-effort converter that draws the PNG onto a blank canvas and exports straight to JPG, without ever painting a background first, gets a black box exactly where the transparency used to be - not a mistake in your file, a missing step in the tool.
Where this shows up most
Two situations account for most black-background reports:
- Product photos with a transparent cutout, common in e-commerce and marketplace listings, converted through a quick script or an older tool that was never updated to handle alpha correctly.
- Logos exported from design software as PNG for the transparency, then converted to JPG for a system that only accepts that format - a logo that looked perfect in the design tool suddenly has a black box around it the moment it’s flattened.
In both cases the transparency data in the original PNG was completely fine - the black box is entirely a property of the specific conversion step, not the source file.
What a properly-built converter should do instead
The fix is one explicit step: paint the canvas white before drawing the image on top of it, then flatten. White is the sane default because it matches the overwhelming majority of real destinations for a JPG - a document, a printed page, a product listing, an email. This is exactly what a correct PNG-to-JPG conversion does under the hood: fill white first, draw the transparent PNG over it, then export - so what used to be see-through simply becomes white, the way most people expect and need.
PNG to JPGConverts with a proper white fill behind any transparency - no black boxes, no surprises.
Convert a PNG →When white isn’t actually the right background
White is the safe default, not the universally correct one. A logo designed to sit on a dark website header, or a graphic meant for a colored slide background, looks wrong flattened onto white - the transparency was doing real design work, not just marking “nothing here.” In that situation, two options actually solve it:
- Keep the transparency by converting to WebP instead of JPG, if the destination accepts it - WebP supports full alpha, so nothing needs to be filled in at all.
- Flatten onto the real target color deliberately, in an image editor, before converting - matching the actual background it’ll be placed on rather than accepting whatever default a converter picks.
The same issue applies to WebP, in reverse
WebP is the mirror case worth knowing: it supports transparency, so converting a transparent WebP to JPG hits exactly the same wall a PNG does
- and converting the other direction, JPG to WebP, never has this problem at all, because a JPG never had transparency to lose in the first place. The rule is really about the destination format, not the source: anything converting into JPG needs an explicit fill decision; anything converting into PNG or WebP doesn’t, because both can just carry the transparency through unchanged.
Quick fixes if you’re stuck with a bad conversion
If a black-background JPG is what you’re holding right now, the original transparency is gone for good in that specific file - JPG never stored it to begin with. The fix is going back to the original PNG and re-converting it properly, not editing the black areas out of the JPG after the fact.
How to check a converter before you rely on it
A one-time test tells you everything: convert a PNG with a transparent corner (a logo with rounded edges works well) and look at exactly that corner in the result. White means the tool explicitly handles the fill. Black - or occasionally an unexpected gray or checkerboard pattern baked into the pixels - means it doesn’t, and the same problem will show up on every transparent PNG you run through it, not just this one.
The conversion runs entirely in your browser - the logo or graphic never has to leave your device to get flattened correctly.