
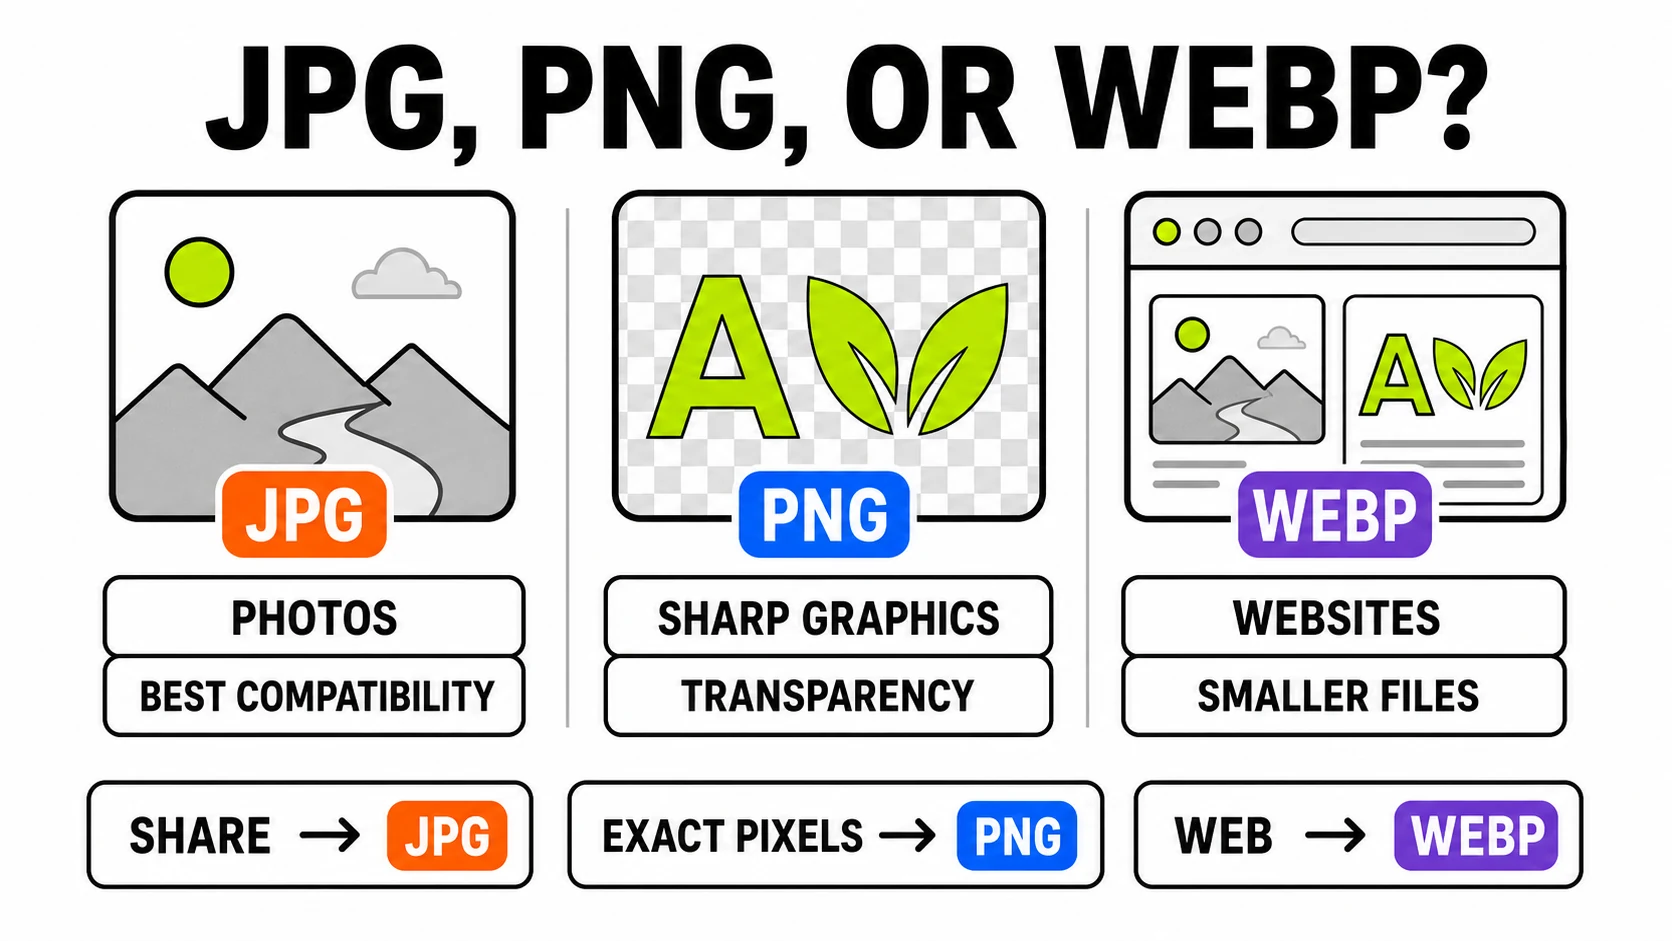
The short version: JPG for photographs that need to travel, PNG for graphics where every pixel matters, WebP for the web where it does both jobs at a smaller size. That answer covers most decisions - the interesting part is the edge cases, which is where files end up blurry, bloated, or rejected by an upload form. Here’s the working logic.
The one concept that explains everything: lossy vs lossless
Every format decision reduces to a single question - what happens to detail you probably can’t see?
- Lossy (JPG, WebP in its usual mode): the encoder discards visual information your eye is unlikely to miss, guided by a quality setting. Massive size savings; microscopic (then gradually visible) detail loss.
- Lossless (PNG, WebP in lossless mode): every pixel is reproduced exactly. Perfect fidelity; file size tracks image complexity.
Neither is “better” - they’re different contracts. Trouble starts when content is placed under the wrong contract: photographs stored losslessly (giant files for invisible benefit) or text screenshots stored lossily (visible fuzz around every letter).
JPG: the photograph’s format, everywhere
JPG’s compression was designed for continuous-tone images - photos, skin, skies, gradients - and thirty years of ubiquity means everything opens it: every device, every printer, every enterprise portal built in 2009.
- Use it for: photos being shared, emailed, uploaded, or printed; anything headed to systems you don’t control.
- Avoid it for: text, logos, UI screenshots (edge smudging), anything needing transparency (JPG has none - transparent areas become white), and working copies you’ll edit repeatedly, because each re-save loses another generation of detail.
- Quality setting intuition: 90%+ is visually lossless for photos; 75-85% is the sharing sweet spot; below 60% the sky starts banding.
PNG: the pixel-perfect format
PNG keeps everything: hard edges, flat colors, fine text, and full alpha transparency. That makes it the default for logos, icons, UI exports, diagrams - and the reason screenshots are so large.
- Use it for: graphics with text or sharp edges, transparency, working copies mid-edit, archival masters.
- Avoid it for: photographs (5-10x the size of an equivalent JPG for no visible gain) and web delivery at scale, where its weight taxes every visitor.
WebP: both contracts, smaller
WebP is the modern web’s answer: its lossy mode beats JPG by roughly a quarter to a third at equal visual quality, its lossless mode beats PNG substantially for graphics, and it supports transparency in both. Every current browser and OS image viewer handles it.
- Use it for: basically everything a website serves - photos, logos, screenshots, hero images.
- The honest caveats: older desktop software and some strict upload forms still reject it (the escape hatch is a quick conversion back to JPG), and email clients are inconsistent - attach JPG.
Image ConverterMove between all three formats in your browser - files never upload, quality slider included.
Convert an image →The decision table
- Photo → sharing/email/upload: JPG.
- Photo → your website: WebP.
- Logo/icon/transparency → anywhere: PNG (or WebP for the web version).
- Screenshot with text → docs: PNG, resized to sensible dimensions.
- Screenshot → website/blog: WebP.
- Anything → old software, printers, bureaucratic portals: JPG. It has never been rejected by anything.
- Master copy you’ll edit again: PNG, made from the original before the first lossy save.
Two mistakes that quietly ruin images
Repeated lossy cycles. JPG → edit → save → convert → save again: each lossy generation stacks. The fix is workflow, not format religion: keep one lossless master (PNG), do lossy conversion exactly once, at the end, per destination.
“Upgrading” a JPG to PNG expecting quality back. Converting a JPG to PNG preserves it perfectly - including every artifact it already has. Lossless from that point forward, but nothing lost is recoverable. It’s a valid move to prevent further loss before editing; it’s not a restoration.
For the deeper specification details, MDN’s image file type guide is the reference worth bookmarking. For actually moving files between the three, the converter runs the whole job in your browser - nothing to install, nothing uploaded.