
The honest answer: compression only looks free when you pull two separate levers correctly - the quality setting, which decides how much visual detail survives, and the resolution, which decides how many pixels there even are to store. Push either one too far and you’ll see it. Stay inside the range where your eye can’t tell, and the file gets dramatically smaller for nothing. Here’s where that range actually is.
Why does compressing a photo shrink it at all?
JPG and WebP’s normal mode work the same way under the hood: they throw away visual information you’re statistically unlikely to notice - subtle color gradients, high-frequency texture - and keep the rest. The quality setting controls how aggressively that discarding happens. Turn it down far enough and the discarding becomes visible as compression artifacts: blocky patches in smooth skies, ringing around hard edges, banding in gradients. None of that is a bug - it’s the same mechanism working past the point where it’s still convincing.
PNG doesn’t do this. It’s lossless by construction, which is exactly why PNGs run so large for photographic content - there’s nothing to discard.
The quality slider: where’s the real sweet spot?
Numbers that hold up in practice, testing the same photo across the range:
- 90% and above - visually lossless. The file is smaller than the original but you’d need a pixel-peeping diff to prove it.
- 75-85% - the actual sharing sweet spot. This is where email attachments, chat uploads, and most web images should sit: meaningfully smaller, no visible cost at normal viewing distance.
- 60-75% - starts costing you in specific content. Skies and skin tones (smooth gradients) show the first banding here before anything else does.
- Below 60% - visible blocking, especially around text and hard edges. Only worth it when file size matters more than appearance at all.
Run a photo through the image compressor and watch the live size readout while you drag the slider - the sweet spot isn’t a universal number, it’s wherever the size stops dropping fast and the preview starts looking soft. That crossover point is usually right around 80%.
That range assumes a photograph. Screenshots and graphics behave differently - the flat colors and hard edges of UI and text are exactly what compression artifacts show up on first, so a screenshot needs a noticeably higher setting (85%+) to look clean at the same size a photo would tolerate at 75%. If a screenshot needs to stay perfectly crisp - a receipt, a spreadsheet, a document - skip lossy compression entirely and lean on resizing instead, or keep it as a PNG.
The lever most people skip entirely: resolution
Quality gets all the attention because it’s a visible slider, but resolution is usually the bigger win. A photo shot on a modern phone is commonly 4000+ pixels wide. If it’s headed to an email, a chat app, or a web page that displays it at 1200px, every pixel beyond that is stored weight doing nothing - the display is throwing them away anyway, just after your upload already paid for them.
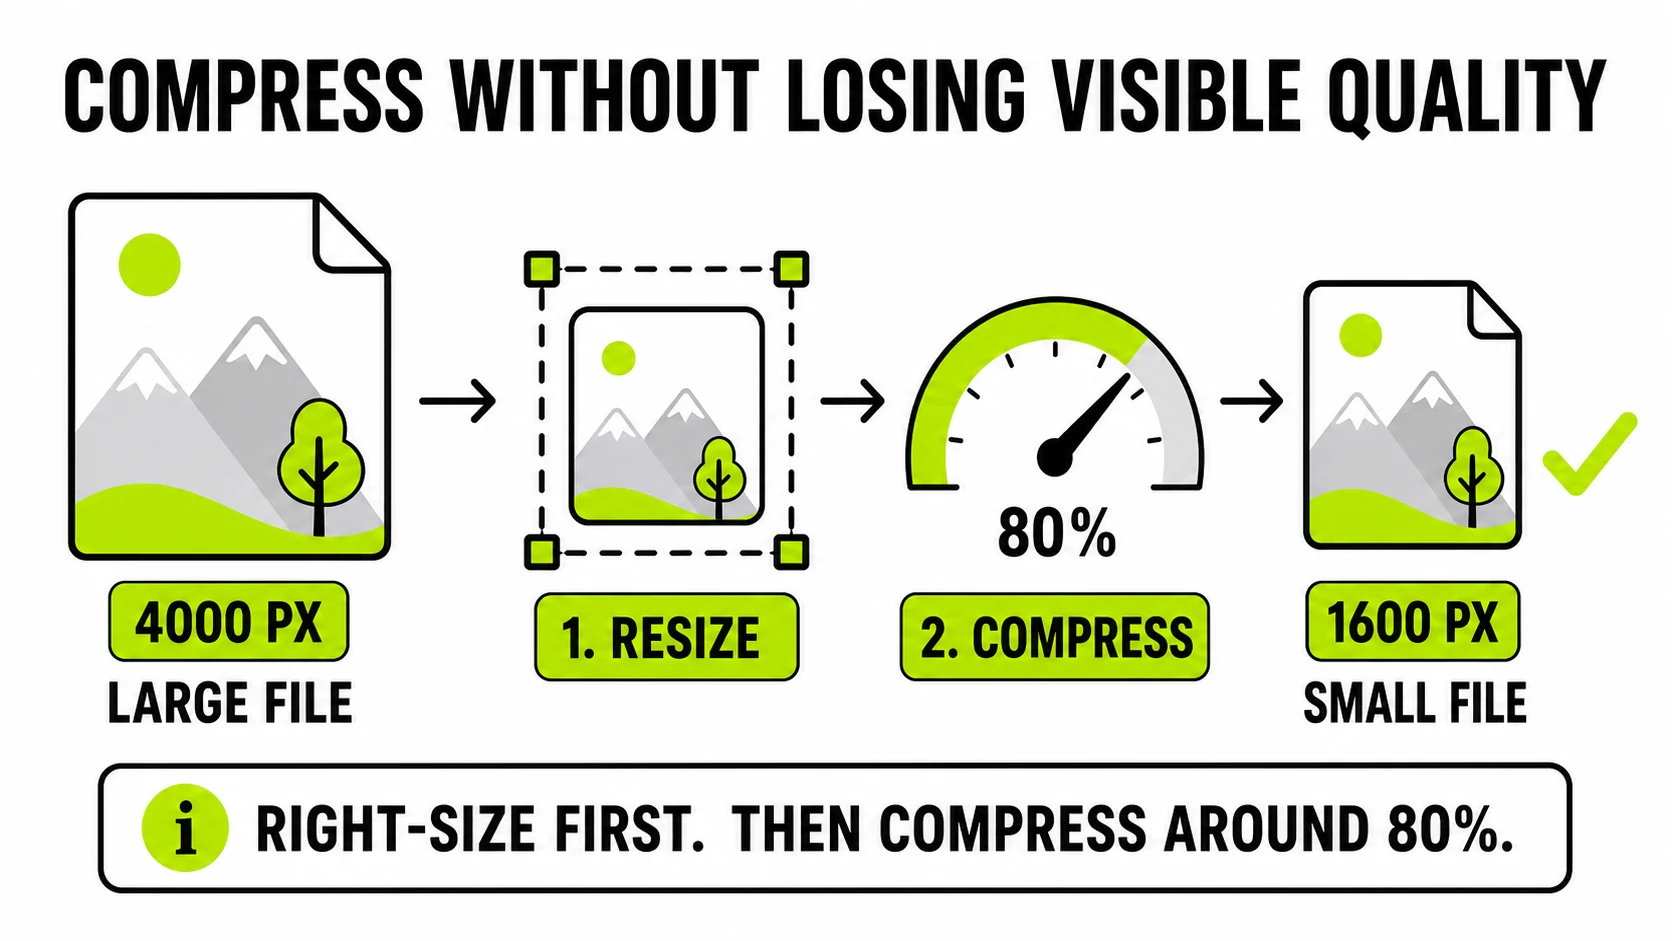
Resizing down to the size the image will actually be viewed at, before compressing, routinely cuts more file size than the quality slider alone - and unlike quality loss, it’s invisible, because nothing that was ever going to be seen got removed. A rough way to check: if you don’t know the display size, 1600-2048px on the long edge covers nearly every screen use - full-res phone photos are usually double or triple that for no visible benefit once they’re inside an email, a chat app, or a web page. Resize the image down first, then compress what’s left - running both in that order is the single biggest lever in this whole article.
Image Compressor + ResizerTwo tools, same idea: shrink the dimensions to what you'll actually display, then compress what's left. Both run locally - nothing uploads.
Compress an image →Does the file format change how much you can compress?
Yes, and this is the part that’s easy to miss: “compressing” a PNG isn’t the same operation as compressing a JPG. A JPG or WebP compressor is re-quantizing the same lossy format at a lower quality - a real trade of detail for size. A PNG compressor, because PNG itself has almost nothing left to squeeze losslessly, is usually re-encoding the image as WebP under the hood. That’s not a trick - it’s the only way a “PNG compressor” produces a dramatically smaller file at all, and it’s worth knowing before you’re surprised that your “.png” download opened as something else. If you’d rather choose the output format yourself, convert the photo to WebP directly and skip the guessing. For the full trade-off between the three formats, the JPG vs PNG vs WebP guide covers when each one is actually the right call.
The mistake that quietly destroys quality: re-saving a lossy file
One compression pass at 80% is invisible. Five compression passes on the same file - because it got edited, re-exported, re-uploaded to a platform that re-compresses it again - stack visibly, even though each individual pass looked fine. The fix isn’t a better setting, it’s a better workflow: keep one high-quality (or lossless PNG) master, and compress from that master every time you need a smaller copy - never compress an already- compressed file again.
What if it’s not just one photo?
The same two levers apply whether it’s one image or a folder of five hundred - what changes is the tolerance for doing it by hand. Compressing one photo at 80% and eyeballing the preview takes a few seconds; doing that fifty times to clear out a camera roll or prep a product shoot for upload is where a manual workflow stops being reasonable. Batch tools apply one setting across every file and export a single ZIP, trading per-photo judgment for speed - worth it once the pile is bigger than a handful, not before, since a fixed setting will occasionally over- or under-compress an individual outlier photo that would’ve benefited from its own look.
A process that actually works
- Keep the original, uncompressed file somewhere as the master.
- Resize a copy down to the dimensions it’ll actually be displayed at.
- Compress that copy, starting around 80% quality and adjusting by eye against the live preview.
- If the destination is picky about format, pick the right target (JPG for compatibility is the fallback everywhere).
- Never re-compress the compressed copy - go back to the master.
Every step above runs in the browser tab - the photo is never uploaded to process it, which matters if any of it is a photo you’d rather not hand to a third-party server.
Google’s own web.dev image optimization guide is a solid reference if you want the encoder-level detail behind why these numbers land where they do.