
A one-page scan landing at 5-10MB isn’t a malfunction - it’s the scanner’s default resolution and color mode doing exactly what they were set to do, just at settings built for archival quality rather than “readable on a screen.” Both are fixable after the fact, and one of them barely gets mentioned anywhere.
The resolution math nobody actually runs
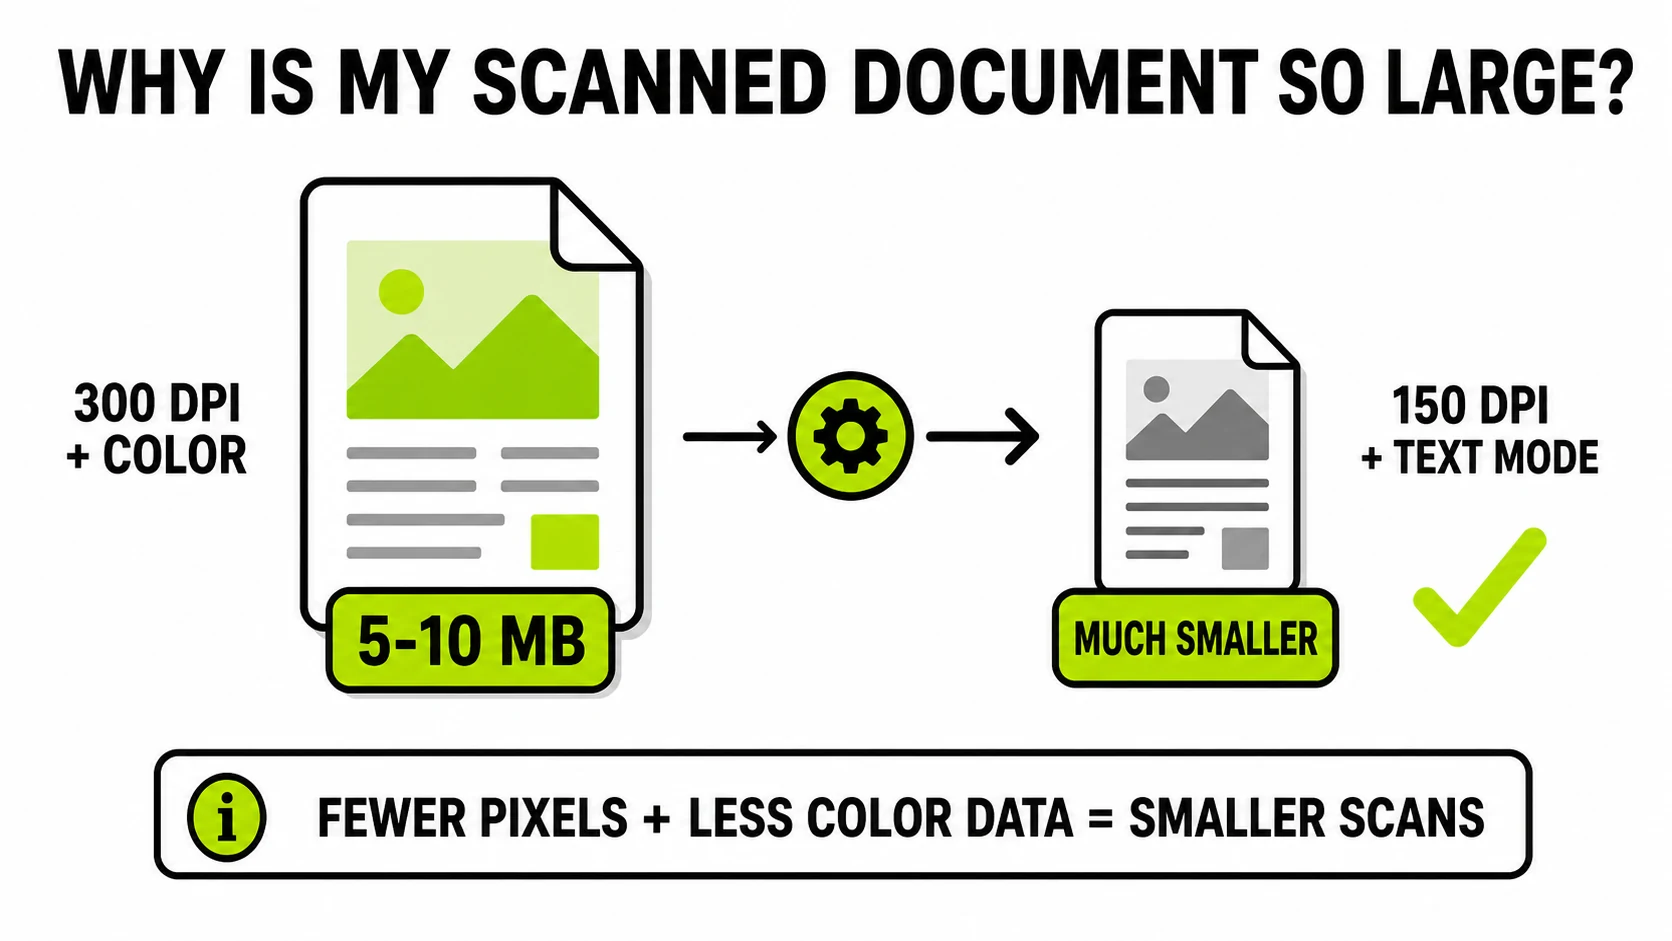
Scanner software commonly defaults to 300 DPI (dots per inch) because that’s a safe setting for anything that might get printed again. Do the arithmetic on a standard US Letter page: 300 DPI × 8.5 inches × 300 DPI × 11 inches works out to 2550 × 3300 pixels - about 8.4 megapixels, for a page that’s mostly white space and text. That’s comparable to a full photograph from a decent camera, except a photograph has visual complexity in every pixel and a text page has almost none - which is exactly why the file feels disproportionately large for what it contains.
For anything that’s only ever going to be read on a screen - a filled form, a signed contract, an ID copy - 150 DPI reproduces text cleanly and cuts the pixel count (and rough file weight) by roughly three-quarters compared to 300 DPI, for no visible loss at normal reading zoom.
Color mode: the lever nobody mentions
This is the one that actually surprises people. Most scanner software defaults to color or grayscale mode even for a plain black-and-white text page - meaning every pixel is stored with the same bit-depth a color photograph would need, when the page itself contains exactly two “colors”: ink and paper. A true black-and-white (1-bit, sometimes labeled “text” or “line art” mode) scan of the same page can come out a small fraction of the size, because each pixel only needs one bit instead of eight or twenty-four.
If your scanner app offers a “black and white,” “text,” or “document” mode distinct from “color” or “photo,” using it for anything without actual color content (photos embedded in the document being the exception) is usually the single biggest lever available - bigger than any compression step afterward.
The exception: when you actually need the higher settings
None of this is an argument for always scanning small - a few situations genuinely justify 300 DPI or higher, and it’s worth being honest about them rather than treating every scan the same:
- OCR (text recognition). If a scan is going through OCR software to extract searchable text, resolution directly affects accuracy - too low and small or thin fonts start getting misread. 200-300 DPI is the reasonable range for reliable OCR, not the 150 DPI that’s fine for a human just reading the page on screen.
- Legal, archival, or signature documents where a printed copy might be needed later, or where fine print and signatures need to hold up to scrutiny at higher zoom.
- Anything with actual photographs or fine illustrations embedded in the page, where color mode and higher resolution both matter for the image content, not just the text around it.
Outside of those cases, the file is almost always bigger than it needs to be for what actually happens to it next.
Fixing a scan you already have
If the scan already happened at full resolution and color, you don’t need to redo it - resize and re-compress instead:
- Resize the scan down to reading resolution if it was captured at 300 DPI or higher and only needs to be read on screen.
- Compress it afterward - text tolerates less aggressive compression than photos before artifacts appear around letters, so keep quality around 85% or higher rather than the 75-85% range that works fine for photographs.
JPG CompressorShrink a scanned page while keeping text legible - live preview so you can check readability before downloading.
Compress a scan →Turning a scan into a shareable PDF
Plenty of portals and forms specifically want a PDF, not an image file. Converting a scan to PDF builds the file entirely on your device - page size (A4, US Letter, or fitted to the image) and orientation are yours to set, and nothing is cropped.
Worth knowing before you rely on it: today, each image becomes its own PDF - a multi-page scanned document currently means either converting one page at a time or using batch mode to get a ZIP of individually-converted pages, not one combined multi-page PDF. If a portal specifically requires a single PDF file for a multi-page document, a PDF-merge step is still a separate task for now.
What if it’s a whole stack of pages?
The same two levers - resolution and color mode - apply whether it’s one page or fifty, but doing them one at a time stops being reasonable past a handful. Batch processing applies one setting across every scanned page in the folder, trading per-page judgment for speed - the same trade-off any bulk resize or compress job makes, worth it once you’re looking at a real stack rather than a single form.
The 30-second version
- Reading on screen only → 150 DPI, black-and-white/text mode if the scanner offers it.
- OCR or searchable text needed → 200-300 DPI, black-and-white or grayscale depending on how faint the print is.
- Print, archive, or legal record → 300 DPI+, whatever color mode matches the original.
- Already scanned at full settings and now too big → resize, then compress at 85%+ quality to protect text.
Every step above - resizing, compressing, building the PDF - happens on your device. A signed contract or an ID scan never has to leave your browser tab to get smaller.