
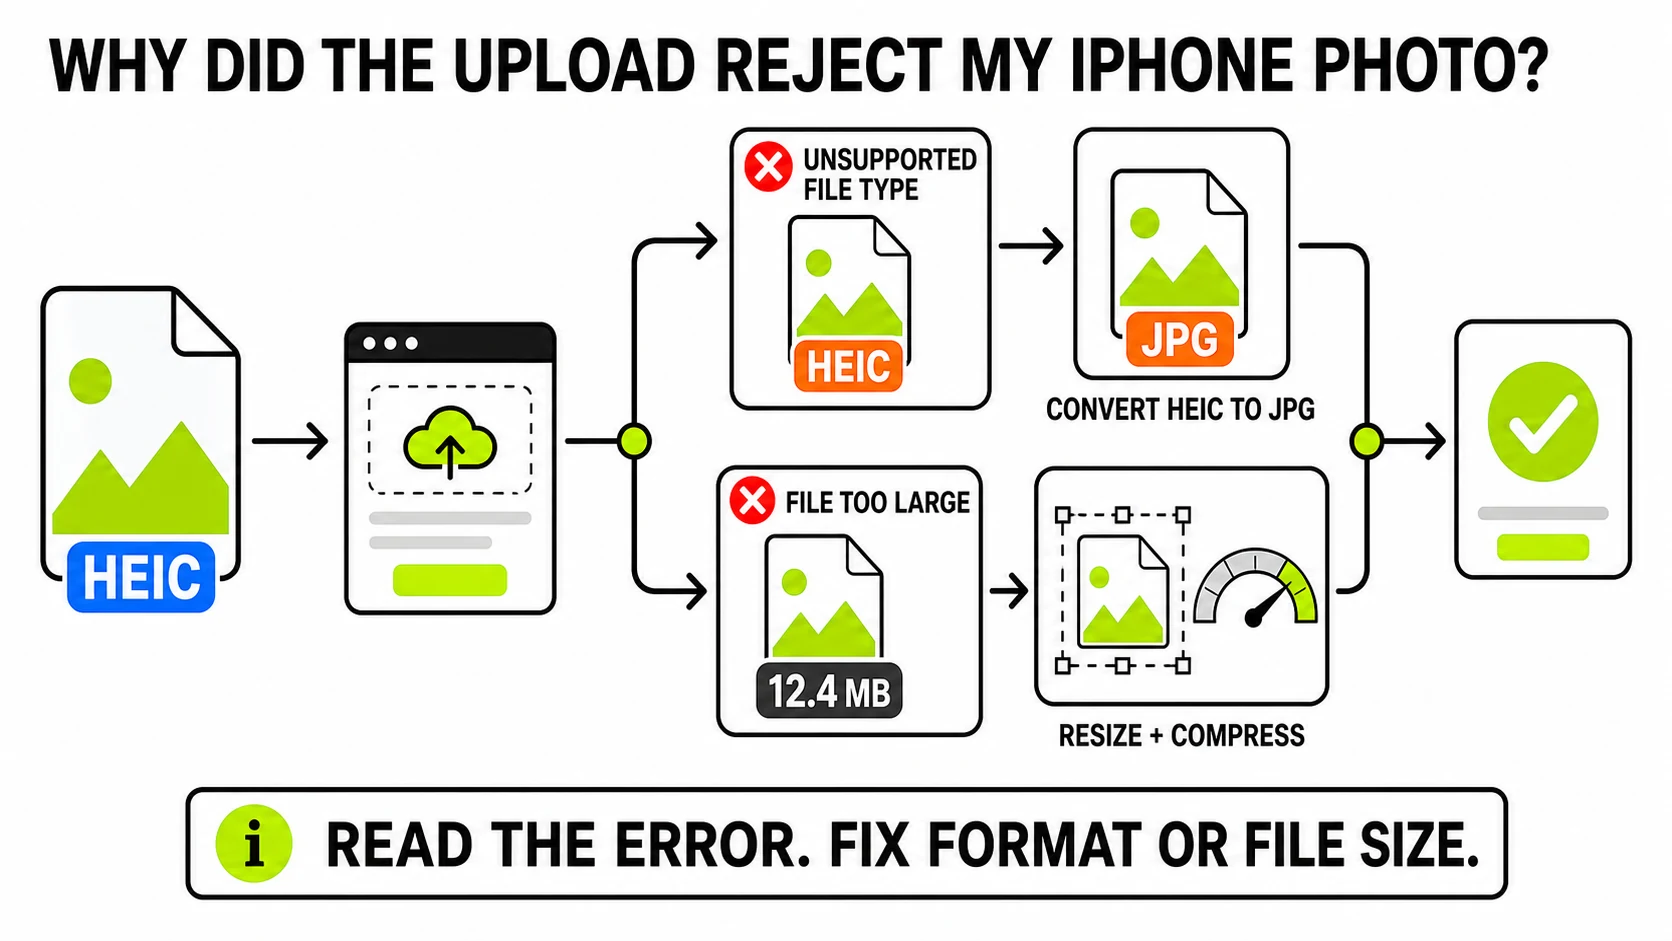
An upload form rejects an iPhone photo for one of two different reasons: the file is too big, or the format is HEIC and the form doesn’t speak it. The error message tells you which - “file too large” means size, “unsupported file type” means format - and each has its own thirty-second fix. Both can be done in the browser without installing anything. Here’s the diagnosis and both cures.
Why iPhone photos got so heavy
Two trends collided. iPhone cameras now capture at resolutions built for cropping and printing - many times more pixels than a web form, a listing photo, or an ID upload will ever display. And Apple’s space-saving HEIC format, the default since iOS 11, is exactly what makes those photos fit on your phone - while being the thing half the internet’s upload forms have never heard of.
So the same photo can fail twice: too many megabytes for the form’s size cap, in a format its checker rejects outright.
Fix 1: “Unsupported file type” - it’s the HEIC format
If the form names the problem as format (or lists “JPG, PNG only”), size is irrelevant - the photo could be tiny and still bounce. Convert the photo to JPG and upload that instead; JPG has never been rejected by a form in the format’s thirty-year life. If the form wants lossless graphics or transparency, HEIC to PNG is the other exit.
The deeper background - why Apple picked HEIC and who can’t open it - is in why HEIC won’t open on Windows.
To stop the problem at the source: Settings → Camera → Formats → Most Compatible makes the iPhone shoot JPG directly. The trade is real, though - JPGs eat noticeably more storage, which is why the default is HEIC.
Fix 2: “File too large” - it’s the megabytes
Size caps on upload forms are usually 2, 5, or 10MB, and a straight-off-the- camera photo can exceed all three. Two levers bring it down, and they stack:
Resize first. The form will display the photo at web dimensions, so the extra resolution is pure dead weight. Running the photo through the JPG resizer at 1600-2048 pixels on the long edge removes the majority of the file while staying sharper than the form will ever show.
Then compress. JPEG’s quality setting at 80-85% discards only detail that’s invisible at viewing size.
JPG CompressorLive size readout while you drag the slider - stop exactly when the file fits the form's cap.
Shrink the photo →The compressor’s live readout makes the size cap concrete: drag until the number is under the limit, download, upload, done. For a HEIC photo that’s also oversized, convert to JPG first - the converter’s quality setting typically lands the file under common caps in the same pass, and everything runs on your device, which matters when the photo in question is your passport page or proof of address.
The iPhone-side shortcuts (and their limits)
Apple gives you partial versions of these fixes on the phone itself:
- Mail’s size prompt (Small / Medium / Large) appears only when emailing - upload forms in Safari never see it.
- Screenshotting the photo produces a smaller file, at the cost of real quality and awkward dimensions. It works in a pinch; it’s not a method.
- Third-party shortcut recipes can resize, but assembling one is more fiddly than a browser tab.
For a form on any device - phone, iPad, or the computer you moved the photos to - the browser route is the same three levers with actual control over the result.
Keep the original
Everything above produces a copy sized for the form. Your camera roll keeps the full-resolution original, which is the one that matters for prints, crops, and whatever future screens want more pixels. Shrink for the upload; archive at full size - in that order, and you never lose anything you’ll want back.