
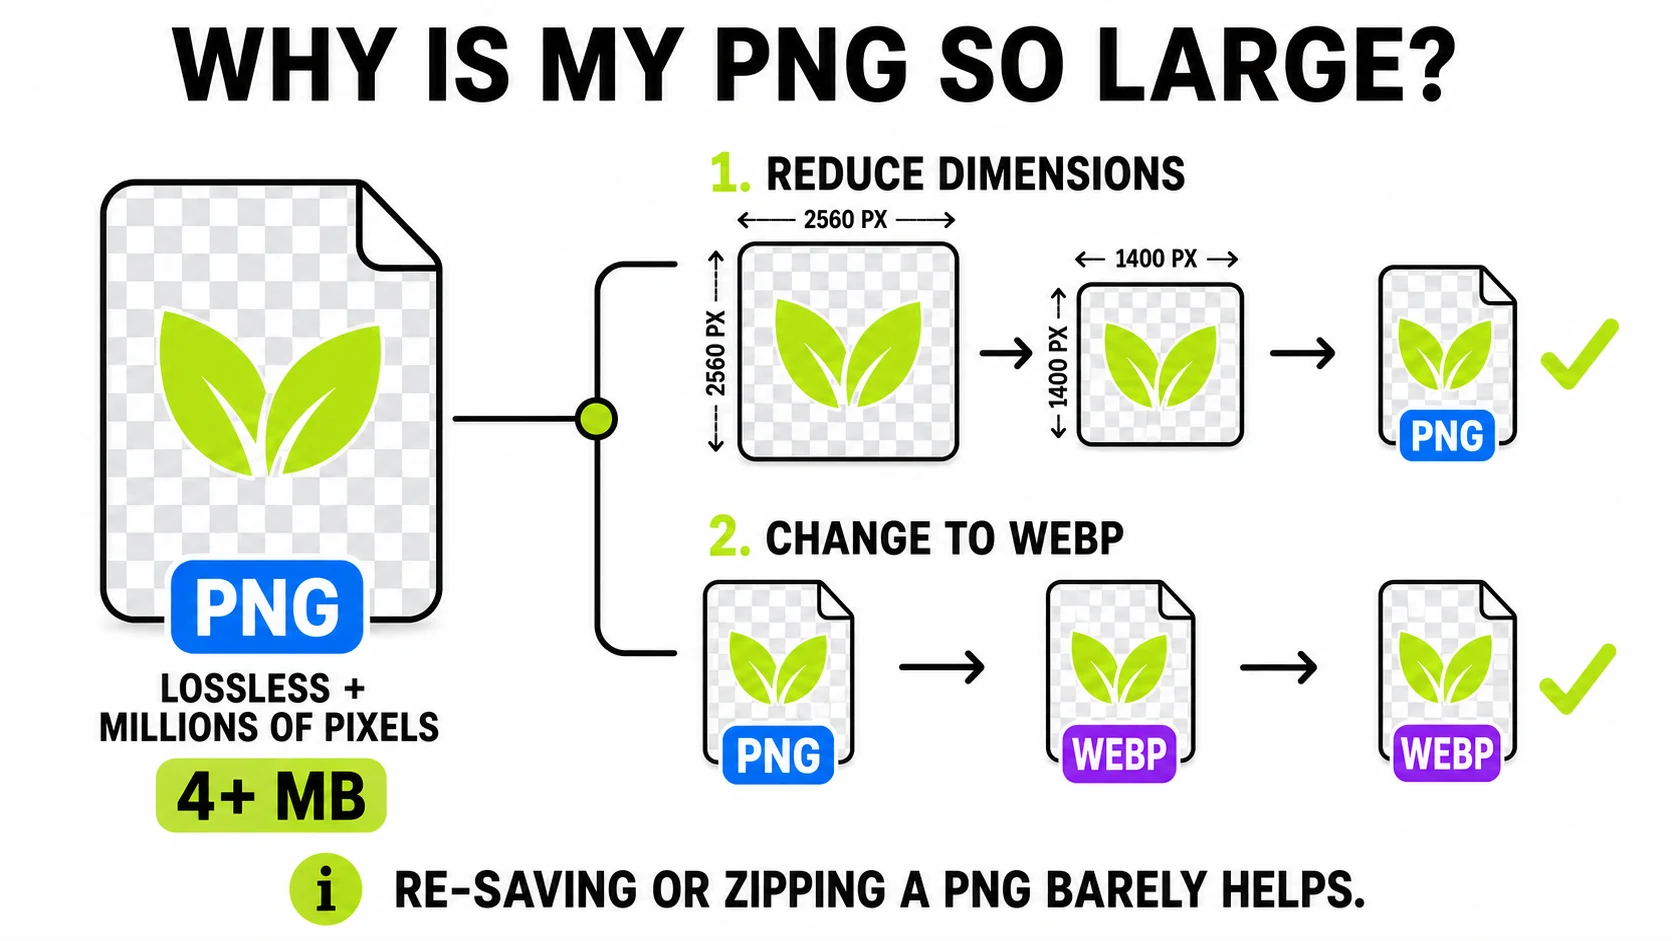
Your PNG is huge because PNG stores every pixel losslessly - it’s a faithful record, not a compressed impression. A full-screen Retina screenshot is 5+ megapixels of exact data, so multi-megabyte files aren’t a bug. The fixes that actually work: reduce the pixel dimensions, or re-encode those pixels into a format built for small files (WebP keeps the transparency, JPG doesn’t). Re-saving it as PNG again does almost nothing - here’s why, and what to do instead.
What PNG actually promises (and what it costs)
PNG makes one guarantee: the image you decode is bit-identical to the image that was encoded. No blur, no artifacts, no generational decay - which is why it’s the right format for logos, UI graphics, and anything with hard edges and text.
That guarantee has a price. PNG’s compression is lossless (think of it as an intelligent ZIP for pixels), so its file size tracks the information in the image. Photographs and gradient-rich screenshots contain enormous amounts of per-pixel variation - and PNG dutifully keeps all of it. A photo that makes a 300KB JPG routinely makes a 2-3MB PNG. Nothing is wrong; the formats are making different promises.
The Retina multiplier nobody accounts for
The most common “huge PNG” is a screenshot, and the reason is resolution. A MacBook or iPhone screen renders at 2x-3x scale, and screenshots capture the physical pixels: a 13-inch MacBook screenshot is about 2560×1600 - over 4 megapixels - and a full-page browser capture can triple that. Millions of losslessly-stored pixels are simply megabytes. That’s arithmetic, not bloat.
Fix 1: Reduce the dimensions (the biggest lever)
File size scales with pixel count, so shrinking dimensions collapses file size: halving width and height cuts roughly 75% of the pixels. For a screenshot heading into documentation or a chat, 1200-1600px wide is almost always plenty.
Use the PNG resizer - transparency survives, the output stays lossless PNG, and typing an exact width gives you consistent documentation images.
Fix 2: Change the container, keep the pixels
If you need the dimensions, change what’s holding the pixels. This is the part most “compress PNG” advice dances around:
PNG CompressorReal savings - typically 60-80% smaller - with transparency preserved. Honest about how it does it.
Compress a PNG →The honest mechanics: our PNG compressor encodes
your pixels as WebP, because that’s where the real savings live for
PNG-style content - flat colors, text, and hard edges compress spectacularly
well, and alpha transparency is fully preserved. Every modern browser and app
opens WebP. If a workflow strictly demands a .png extension, dimension
reduction (Fix 1) is your honest lever.
For photographic PNGs specifically (a photo someone exported as PNG), you don’t need lossless at all - convert to WebP or JPG and reclaim 80-90%.
What doesn’t work (save yourself the detour)
- Re-saving the PNG “compressed”. PNG is already losslessly compressed; another pass re-shuffles the same information for single-digit savings.
- Zipping it. Same reason - there’s no redundancy left for ZIP to find. A folder of PNGs zips to roughly the same size.
- Screenshotting the screenshot. Genuinely a thing people try. You get the same pixel count plus another round of chrome.
The 30-second decision
- Screenshot for docs/chat → resize to ~1400px, then compress if it still matters.
- Logo or UI asset for a website → compress to WebP, transparency intact.
- A photo wearing a PNG costume → convert it out; lossless was never needed.
- Print or further editing → leave it alone; big is correct here.
Everything above runs in your browser - the screenshot of your unreleased dashboard never lands on someone else’s server on its way to being smaller.